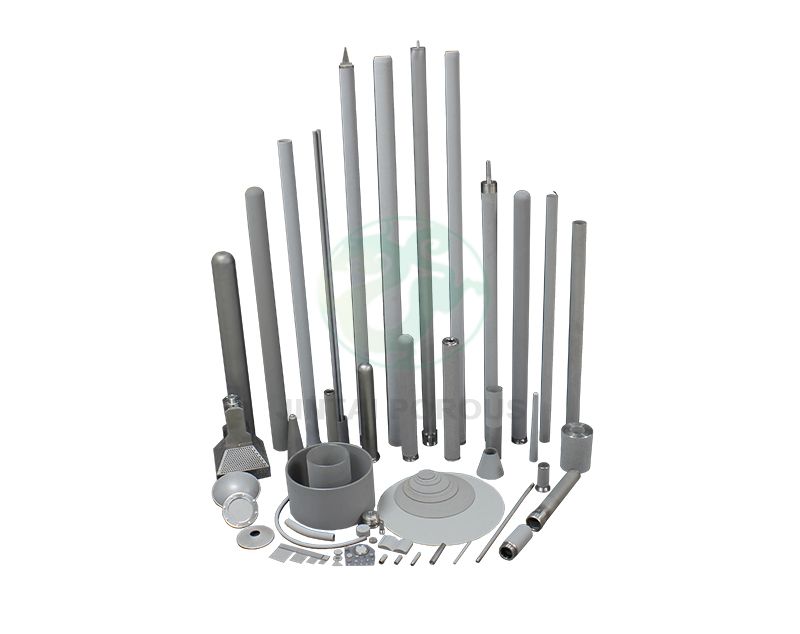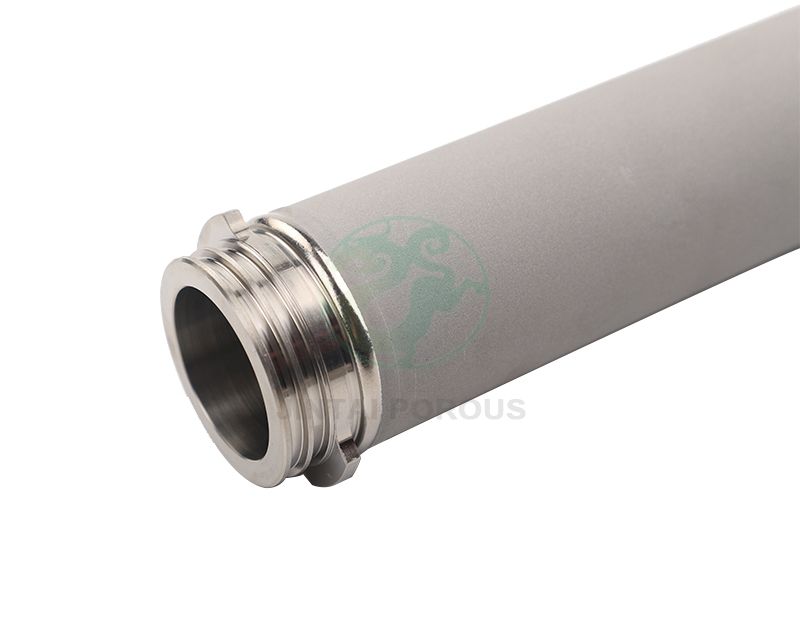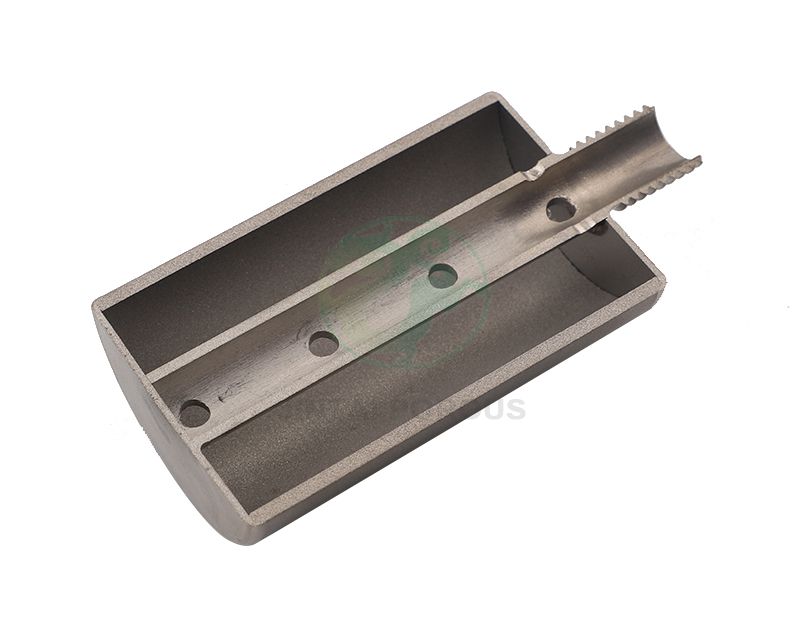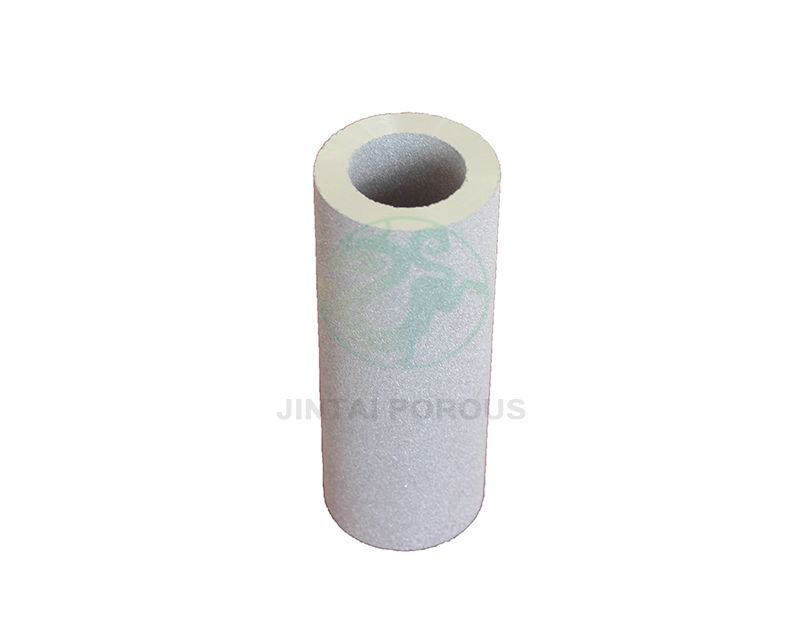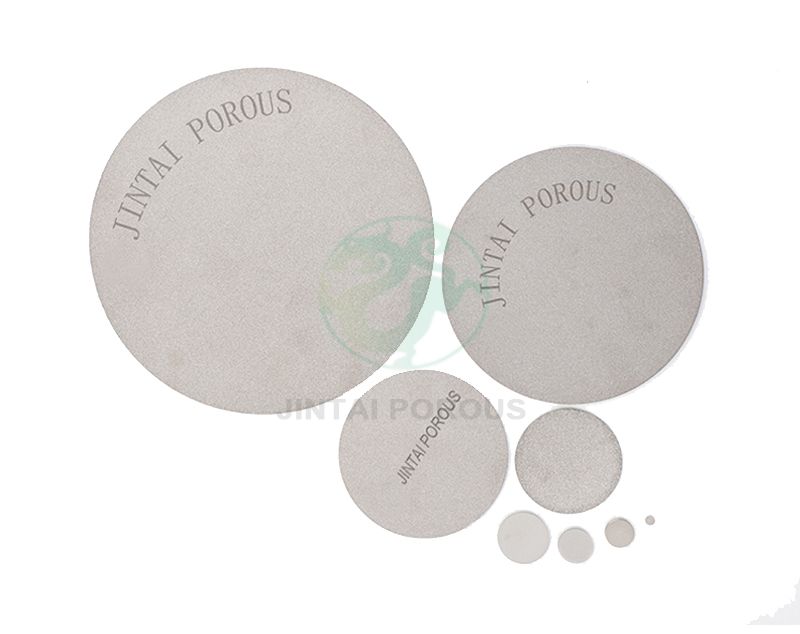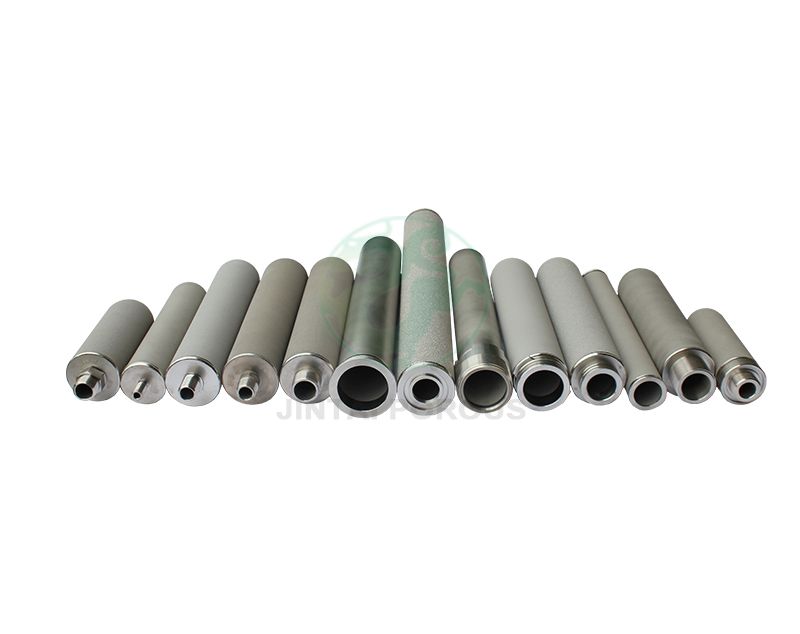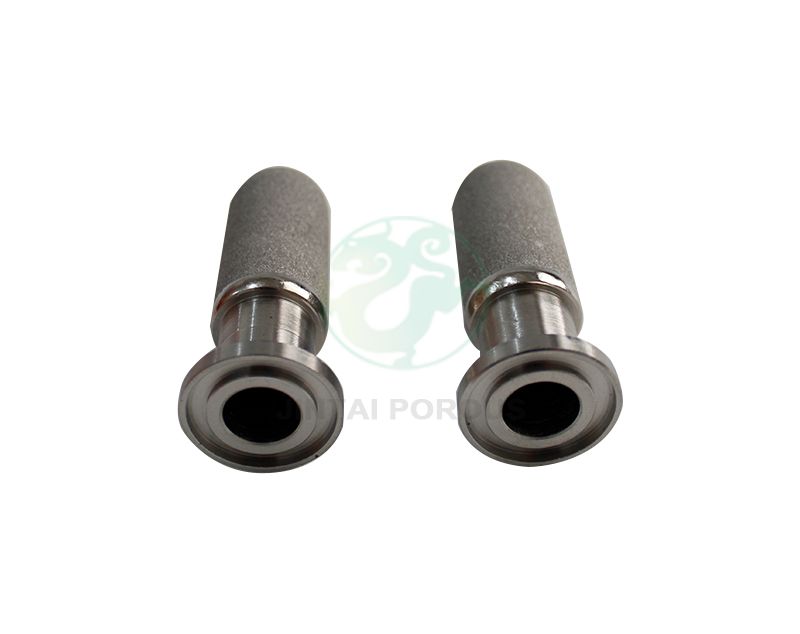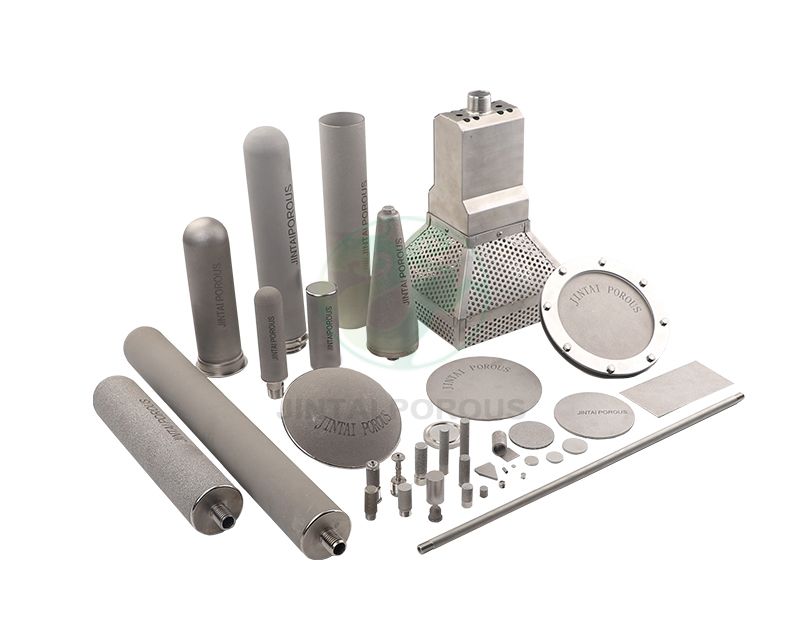

Sintered asymmetric filter elements remove solid particles from liquids and gases while supporting stable flow. Correct cleaning protects the porous metal filter, the stainless steel sintered filter, and the gradient pore structure inside the element. Many overseas buyers and distributors ask the same questions: When should the filter be cleaned? Which method is safe? How can pressure loss be reduced without damaging the filter?
The short answer is simple. Monitor differential pressure, clean the element before permanent blockage occurs, and use a cleaning method that matches the process fluid. A controlled cleaning plan can reduce replacement frequency, improve filtration performance, and lower total operating cost.


A sintered asymmetric filter element is made by compacting and heating metal powder below its melting point. The process creates a strong porous body with connected pores. In an asymmetric design, the pore size changes through the filter wall. The surface usually has smaller pores for accurate filtration, while the support layers have larger pores for strength and flow.
This structure provides high dirt-holding capacity and good resistance to pressure, temperature, and chemicals. Common materials include sintered stainless steel, bronze, nickel alloy, and special high-temperature alloys. The correct material depends on the fluid, temperature, pressure, and cleaning chemical.
1. What Is a Sintered Asymmetric Filter Element?
The fine filtration layer captures particles at the surface and near-surface area. Larger internal pores support the fine layer and help carry clean fluid. If particles are forced too deeply into the structure, normal backwashing may not remove them. This is why early cleaning is safer than waiting for complete blockage.
Why the asymmetric structure affects cleaning
Cleaning should be based on measured operating conditions, not only on a calendar. The most useful value is differential pressure, which is the pressure before the filter minus the pressure after the filter. A rising differential pressure means that particles are restricting flow.
| Operating sign | Typical meaning | Recommended action |
|---|---|---|
| Differential pressure rises by 20 percent | Early particle loading | Check flow rate and record the trend |
| Differential pressure reaches 50 to 70 percent of the alarm limit | Filter is becoming loaded | Plan cleaning during the next safe shutdown |
| Differential pressure reaches the equipment alarm limit | Flow restriction may affect production | Stop or isolate the unit and clean the element |
| Flow falls while pressure remains high | Possible blockage, wrong installation, or damaged element | Inspect the element and housing before reuse |
These values are operating references, not universal limits. The filter manufacturer, housing design, and process engineer should confirm the final alarm setting. JINTAI recommends recording clean differential pressure after every successful cleaning. This creates a useful baseline for future maintenance.
2. When Should the Filter Element Be Cleaned?
- Product flow is lower than the normal production value.
- Filtrate quality becomes worse or particle leakage increases.
- The cleaning cycle becomes shorter than usual.
- Pressure changes suddenly after a process change.
- Visible deposits appear on the filter surface.
Other signs that cleaning is necessary
The best cleaning method depends on the type of contamination. Loose particles usually need reverse flow or gas blowback. Sticky materials may need warm water, a compatible solvent, or a mild chemical solution. Burned organic deposits may require thermal treatment. Abrasive cleaning can damage the fine filtration surface and should normally be avoided.
| Cleaning method | Best for | Main control point | Risk |
|---|---|---|---|
| Reverse liquid flushing | Loose solids and soft deposits | Use clean liquid and controlled pressure | High pressure can deform seals or supports |
| Gas back-pulsing | Dry powder and light dust | Use dry, oil-free gas | Excessive pulse pressure can damage the element |
| Ultrasonic cleaning | Fine particles and complex surface deposits | Control bath temperature and time | Incorrect settings may loosen fittings |
| Chemical cleaning | Oil, scale, and chemical deposits | Confirm material compatibility first | Corrosion or residue may occur |
| Thermal cleaning | Burned organic contamination | Follow the alloy and element design limit | Heat may damage seals or welds |
3. What Are the Main Cleaning Methods?
Reverse flushing sends clean liquid from the filtrate side toward the dirty side. The reversed flow lifts particles from the surface. Use a liquid that does not react with the filter material or remaining process residue. Start at a low pressure, observe the outlet, and increase pressure only within the supplier specification.
Reverse liquid flushing
Compressed air or nitrogen can remove dry particles from a gas filter. The gas must be clean and oil-free. Nitrogen is often selected when oxidation or product contamination is a concern. Short pulses are generally safer than one long, high-pressure blast.
Gas back-pulsing
Use chemical cleaning only after identifying the deposit. An alkaline solution may help with some oils, while a suitable acidic solution may remove mineral scale. Never select a chemical based only on the filter material. The process residue, welds, seals, and housing must also be compatible.
Chemical and ultrasonic cleaning
The following process gives maintenance teams a clear and repeatable workflow. Always follow the equipment safety procedure and the cleaning instructions supplied for the specific filter element.
Step 1: Isolate the system
Stop the pump or gas supply. Close the inlet and outlet valves. Release trapped pressure and allow the element to reach a safe handling temperature.
Step 2: Record operating data
Write down flow rate, differential pressure, process temperature, cleaning reason, and the type of contamination. These records help identify process problems.
Step 3: Remove the element carefully
Use clean tools and protect the sealing surfaces. Do not strike the element against the housing. Place it on a soft, clean support.
Step 4: Inspect before cleaning
Look for cracks, dents, blocked pores, damaged welds, corrosion, and seal wear. Photograph unusual deposits for future analysis.
Step 5: Select the least aggressive method
Begin with low-pressure reverse flushing or gentle rinsing. Move to ultrasonic, chemical, or thermal cleaning only when the first method is not sufficient.
Step 6: Rinse and dry completely
Remove all cleaning liquid and loose particles. Dry with clean air, nitrogen, or a controlled oven that is suitable for the element and seals.
Step 7: Test and reinstall
Check the element for damage, confirm the seal is correct, reinstall it in the proper flow direction, and record the clean pressure drop.
4. The 7-Step Cleaning Process
High differential pressure detected
Then isolate and depressurize the equipment
Then identify the deposit: dry solids, oil, scale, or burned material
Then select reverse flushing, gas pulse, ultrasonic, chemical, or thermal cleaning
Then rinse, dry, inspect, and measure pressure drop
If pressure drop returns near the clean baseline, reinstall the element
If pressure drop remains high, investigate permanent blockage or element damage
Cleaning flow chart
Sintered metal is strong, but the filtration surface can still be damaged by poor handling. Do not use a wire brush, sharp scraper, uncontrolled abrasive blasting, or a high-pressure water jet unless the supplier has approved it. These methods can change the pore structure and reduce filtration accuracy.
Do not allow dirty liquid to dry on the filter when it can be rinsed immediately. Dried deposits may bond to the surface and require stronger cleaning. If the process contains resin, polymer, sugar, paint, or biological material, ask for a cleaning recommendation before the deposit hardens.
5. How to Clean Without Damaging the Filter
Use the lowest pressure that removes the contamination. A useful maintenance target is to restore the pressure drop to within 10 to 20 percent of the original clean value. If the pressure drop remains more than 20 percent above the baseline after cleaning, inspect the element and review the process conditions.
Avoid sudden temperature changes. A hot filter placed in cold water may experience thermal stress. Let the element cool in a controlled way, and confirm the maximum temperature for the metal, welds, coatings, and sealing materials.
Pressure and temperature controls
Cleaning is not complete until the filter element has passed an inspection. Rinsing may remove particles, but it cannot repair a cracked weld, a dented tube, or a corroded surface. A filter with structural damage may allow particles to pass into the downstream process.
| Inspection item | What to check | Acceptable maintenance result |
|---|---|---|
| Visual condition | Cracks, dents, corrosion, and loose parts | No visible structural damage |
| Seal and connection | Flattening, cuts, wear, and contamination | Clean and correctly seated |
| Pressure drop | Pressure at the standard test flow | Close to the clean baseline |
| Filtration result | Particle level or product clarity | Within the process specification |
| Weight or residue | Remaining deposits after drying | No abnormal residue or unexplained increase |
For demanding applications, a bubble point test, pressure hold test, or particle challenge test may be suitable. The correct test depends on the filter rating and industry. A maintenance team should not use a test pressure above the rated limit.
6. Inspection After Cleaning
A maintenance schedule should combine daily observation, monthly review, and planned shutdown inspection. The actual interval depends on solids loading, fluid viscosity, operating temperature, and production hours.
- Every shift: Check flow, differential pressure, leakage, and unusual vibration.
- Every week: Review pressure trends and compare them with the clean baseline.
- Every month: Check valves, gauges, seals, and cleaning equipment.
- Every cleaning cycle: Record the method, time, pressure, chemical, temperature, and result.
- Every planned shutdown: Remove and inspect the element if the process allows it.
- After a process change: Recheck the cleaning interval and pressure alarm setting.
For example, a filter that normally reaches its cleaning pressure after 30 days may reach it after 14 days when feed solids double. This change may indicate poor upstream separation, a damaged prefilter, or a new raw material. Replacing the filter without finding the cause can increase operating cost.
7. A Practical Maintenance Schedule
8. Common Cleaning Mistakes and Better Solutions
| Common mistake | Why it causes trouble | Better solution |
|---|---|---|
| Cleaning only after total blockage | Particles become difficult to remove | Use a differential pressure alarm |
| Using a random chemical | It may corrode metal or seals | Confirm chemical compatibility first |
| Using excessive pressure | It may damage the fine filtration layer | Start low and stay within the specification |
| Skipping the drying step | Moisture may cause corrosion or contamination | Dry fully before storage or reinstallation |
| Installing in the wrong direction | Flow may not support effective cleaning | Follow the marked flow direction |
| Reusing damaged seals | Leaks may bypass the filter | Replace worn seals during maintenance |
9. How JINTAI Supports Filter Maintenance
JINTAI manufactures sintered porous asymmetric filter elements for industrial filtration applications. Product details can be designed around filtration rating, material, dimensions, connection type, operating temperature, and cleaning method. This information is important for overseas buyers because a filter that is easy to clean in one process may require a different design in another process.
When requesting a quotation or maintenance recommendation, provide the filter material, nominal or absolute filtration rating, fluid name, operating temperature, normal flow, pressure range, contamination type, and current differential pressure. Photos of the element and housing can also help identify installation or cleaning problems.
Questions overseas buyers should ask
- What cleaning methods are approved for this filter grade?
- What is the recommended clean pressure drop?
- What is the maximum reverse pressure?
- Can the element be cleaned with water, solvent, gas, or ultrasonic equipment?
- Which seal materials are suitable for the process?
- What inspection or integrity test is recommended after cleaning?
- Can JINTAI provide a custom size or connection for the existing housing?
10. Final Maintenance Checklist
Before returning a cleaned sintered asymmetric filter element to service, confirm the following items:
- The system is isolated and fully depressurized.
- The contamination type has been identified.
- The cleaning method is compatible with the metal and seals.
- The element has not been scratched, dented, or overheated.
- All cleaning liquid and residue have been removed.
- The element is completely dry.
- The seal and flow direction are correct.
- The post-cleaning pressure drop is recorded.
- The filtration result meets the process requirement.
Proper cleaning and maintenance do more than restore flow. They protect filtration accuracy, reduce unexpected shutdowns, and help the element deliver a longer working life. The most reliable plan is to monitor differential pressure, clean before severe blockage, use the least aggressive effective method, and document every result. With this approach, JINTAI sintered asymmetric filter elements can support stable and repeatable industrial filtration performance.